Take Better Photos: Nine Smartphone Tips and Tricks
It doesn’t take much to raise your smartphone photography game ⇒ start producing majestic pics ⇒ kick your department’s (and personal) social media up several notches.
Use the handful of tips, tweaks and hacks below to snap pics that would put Ansel Adams to shame.
The Basics:
1) Clean Your Lens
If your photos are coming out blurry, you might have a dirty lens. Luckily, it’s an easy fix—just use a cotton cloth to wipe the lens clean. This is a good maintenance thing to do periodically even if you’re not having photo clarity issues.
2) Button Up
The digital shutter button on your phone’s screen can be tough to see when you’re outdoors and tapping it can also cause the phone to shake, blurring your photo. The quick and easy solution is to use your phone’s volume up button to snap a photo instead.
This feature is automatic for the iPhone and can be switched on (Settings » Feature » Quick Snap) on many Android phones.
Light:
3) Avoid Flash
Use natural light whenever possible. The flash bulb in most smartphones is weak and can only cover small objects at close range.
4) The Sunglasses Hack
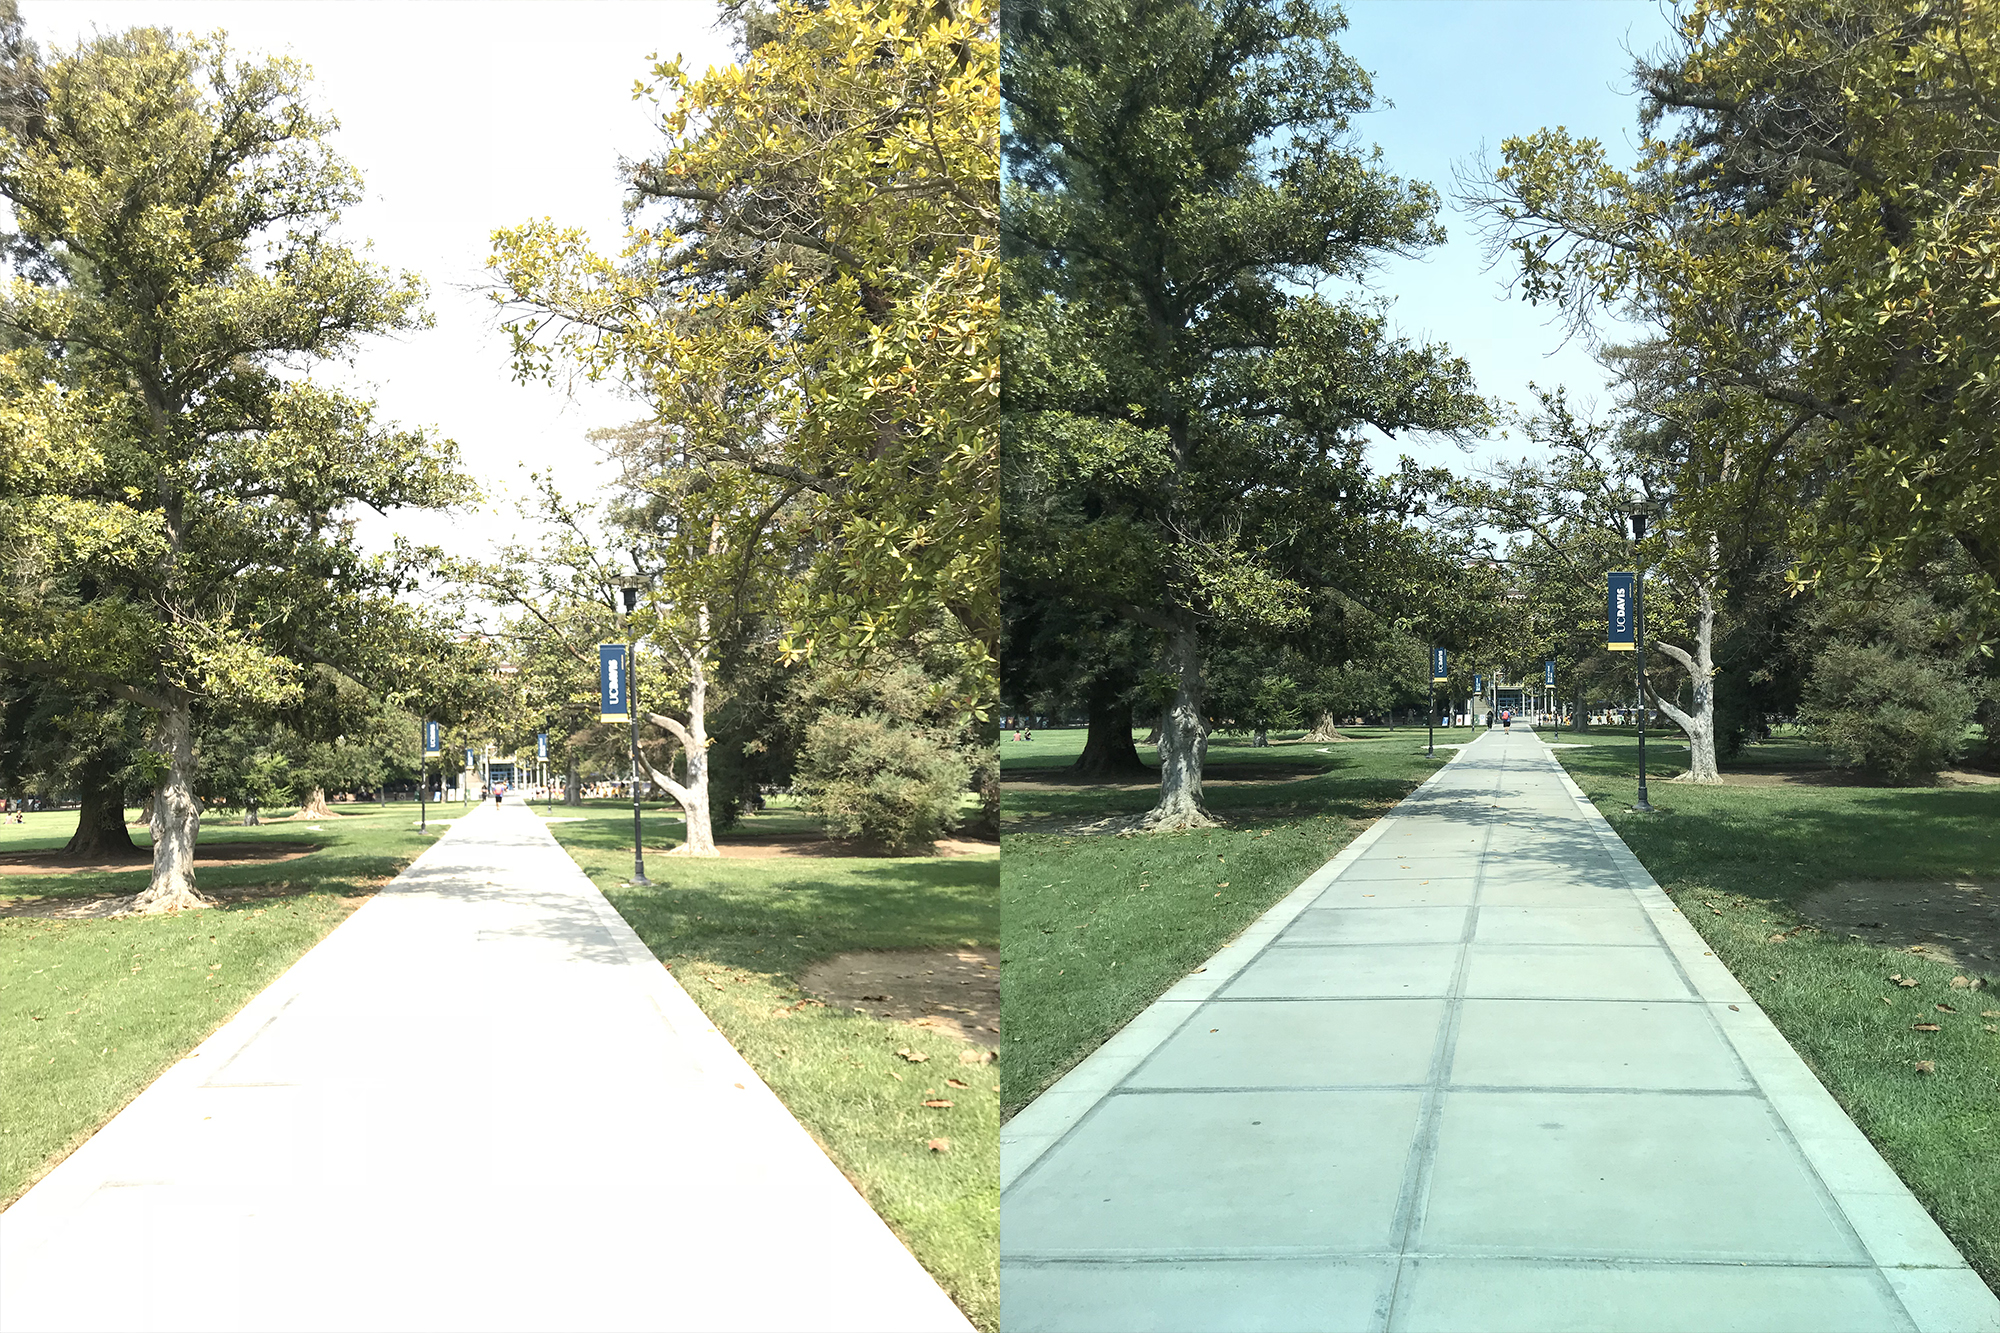
“Brilliant sunshine” is a frequent feature of the forecast in Davis. It can make for fantastic photography conditions, and it can also totally baffle your camera. Place your sunglasses lens over the camera to avoid blown out, overexposed photos when you’re shooting a darker object against a bright backdrop or vice versa.

You can also adjust the exposure by tapping the screen and sliding up or down alongside the yellow sun icon.
5) Focus: The Tap and Lock Technique
Your camera will auto-focus on the center of the photo—so if the object you want in focus is anywhere but the center, you’ll want to tap the screen to manually set the focus on that object.
To lock focus on an iPhone, hold your finger down until a box pops up at the top of the screen that says AE/AF LOCK.
Composition:
6) No Zoom for You!
Smartphone cameras have low resolutions to begin with and zooming further lowers the image quality. If you want to get a close-up shot, get close!
7) Get on the Grid
When you’re staring into your phone, in the middle of composing your photo, it’s tempting just to center the object you’re shooting and be done with it. That’s not always a bad strategy, but it can feel a little stale.
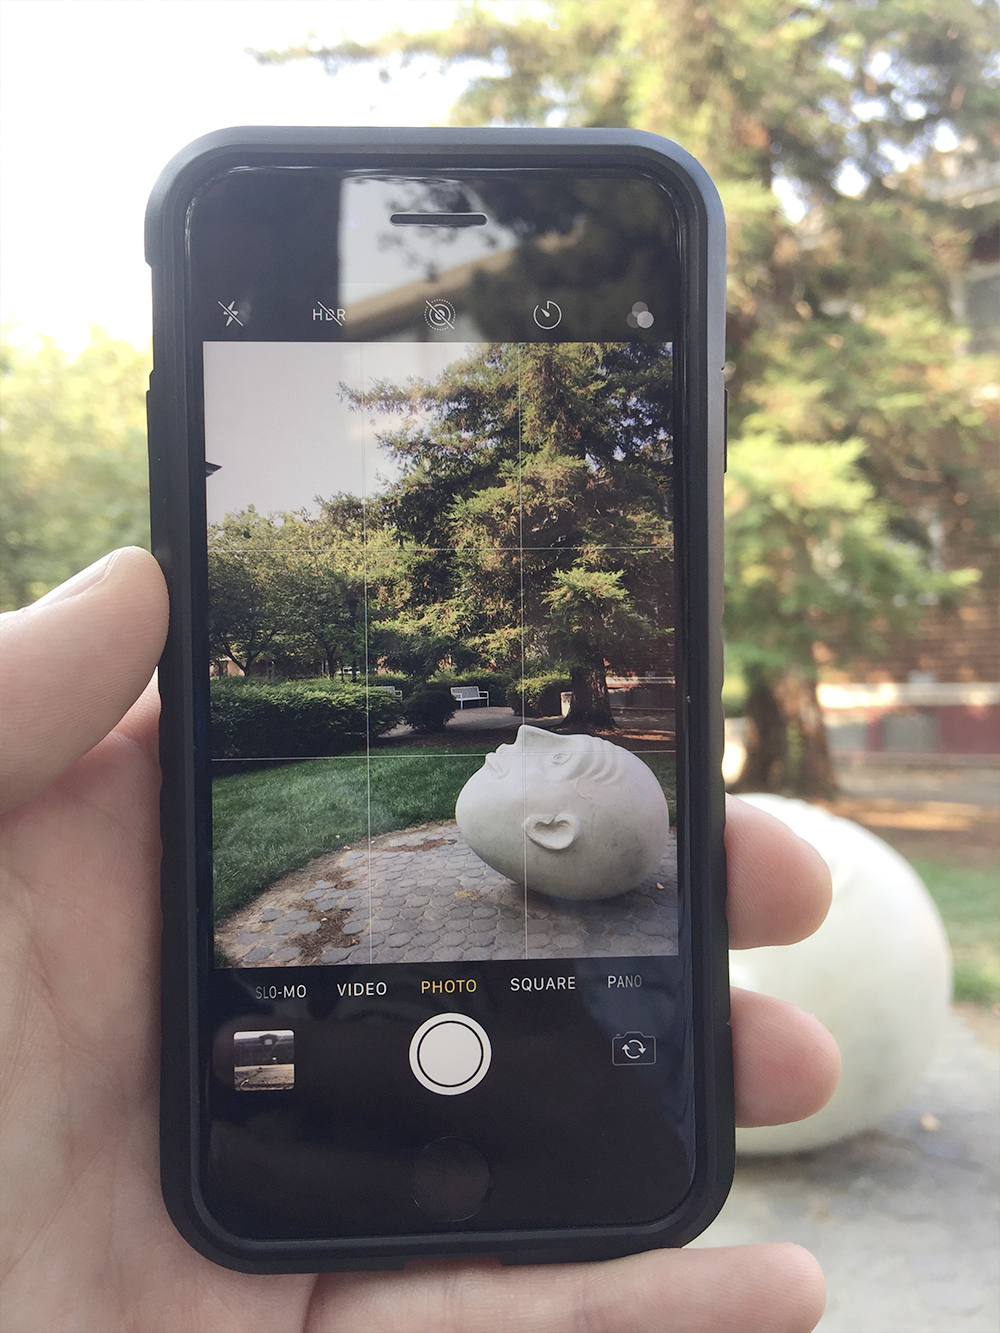
Mix it up with the rule of thirds. This ‘rule,’ which imagines the picture divided by gridlines into horizontal and vertical thirds, says that you can achieve a more compelling and energetic picture by lining up your subject with one of the gridlines or points of intersection. And good news! You don’t have to picture all this with your mind’s eye—your smartphone camera has a grid option which is perfect for composing interesting pics.

To enable the grid feature on your smartphone, just open the Settings app, tap Photos & Camera (or just “Camera”), find Grid and switch it on. When you return to the Camera app, you’ll see a grid over the image.
8) The Portrait Mode Fix
One limitation of smartphone photography is that a sense of depth doesn’t come through well—everything tends to appear as if it’s on the same plane.
If you’re within eight feet or so of your subject, you can try using Portrait Mode on your iPhone (available on iPhone 7 Plus, 8 Plus and X; on newer Samsung phones, this is called Live Focus). This will zoom in slightly, bring your photo’s subject into sharper focus and blur the background; as the name suggests, it’s ideal for portraits—including staff headshots and LinkedIn profile pictures.

9) The Phone Flip
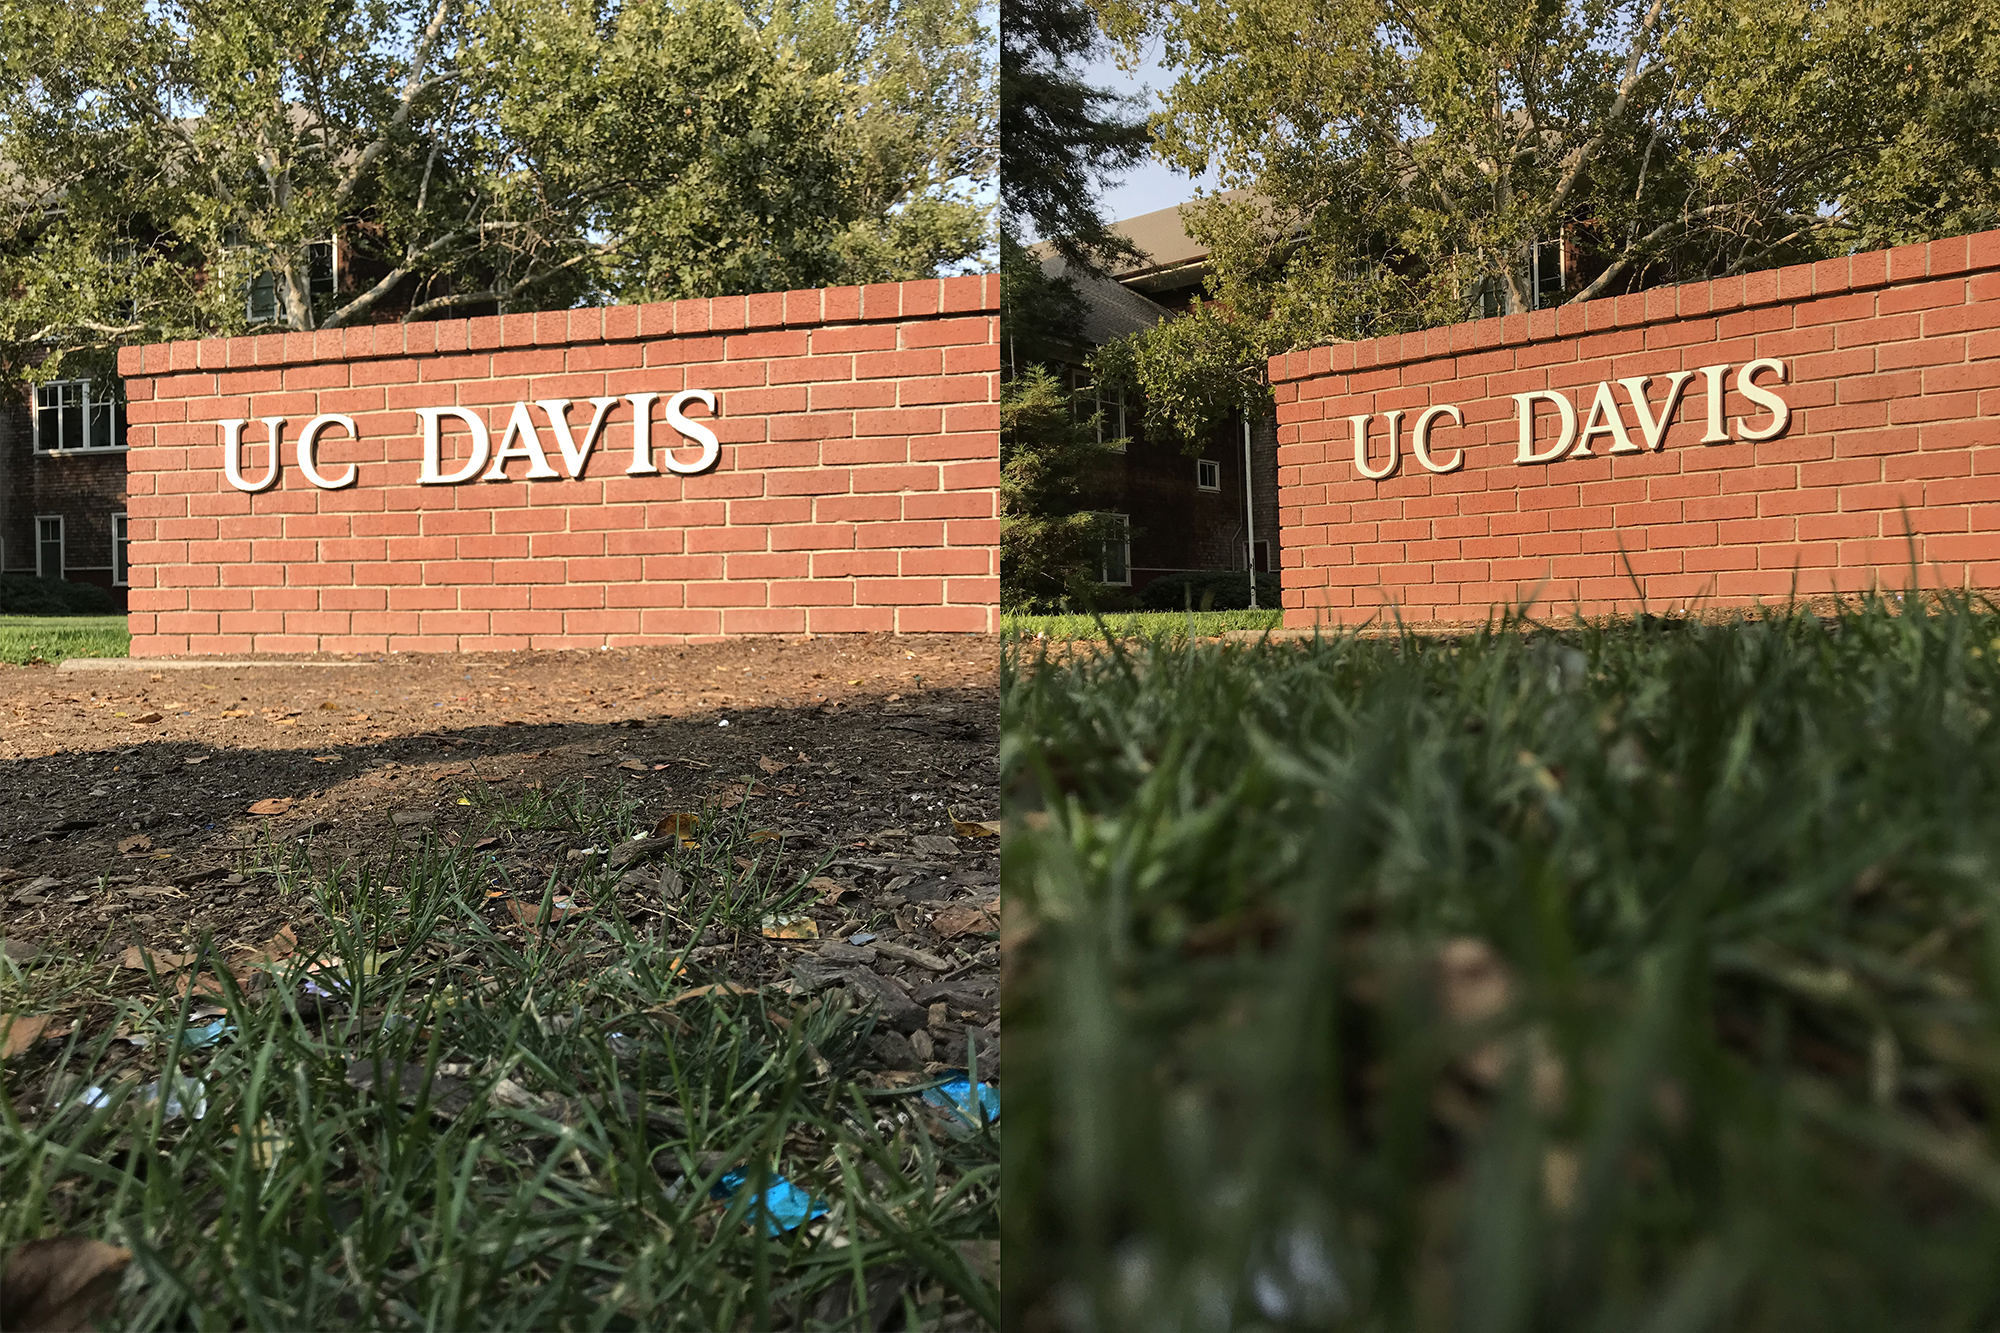
This hack is so simple and yet guaranteed to deliver an impressive picture. Turn your phone upside down and set it on the ground. The resulting photo will have a blurred foreground (i.e., the street, grass, tabletop, etc.) and draw the viewer’s eye straight to the subject of your photo.

It’s an unusual and engaging perspective.